# Session settings
Schlagwörter: Session, room, tone, sound, microphone, image, camera, device configuration microphone and camera, video mode tiles, video mode standard (single-line)In sessions, the Session settings menu item can be accessed at the top left. This function allows (co-)group leaders to make various settings for the currently active session.
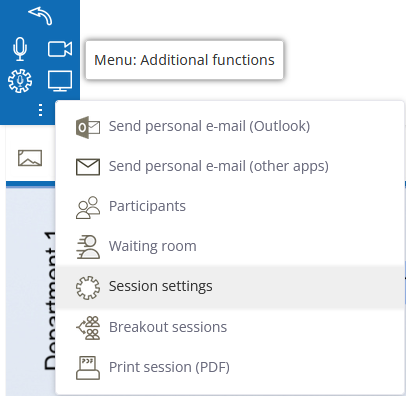
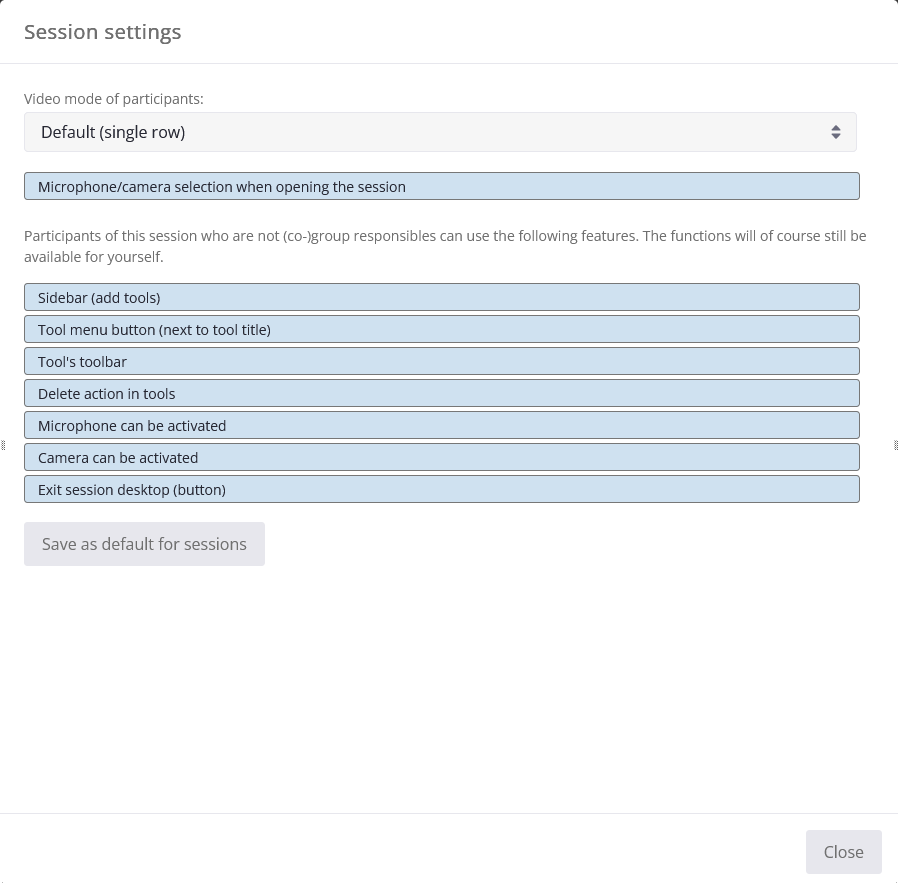
This opens a dialog in which the settings can be adjusted. As soon as a change is made, it is immediately active.
# Participant video mode
The video images and portrait photos of the participants are normally displayed in the participants bar at the top. Their display mode can be switched by (co-)group leaders for all meeting participants.
Standard video mode (single line)
The video images are displayed in one line to save space. This leaves plenty of space for using the tools. This mode is therefore ideal for session phases in which tools are primarily used. By undocking and enlarging the video images, all participants can find an optimal display for themselves independently of the others.
Tile video mode
In this mode, the video images are displayed in full format across the entire screen. The individual video tiles are automatically displayed as large as possible for everyone. With its tiled display, this mode is very suitable for greeting or discussion phases in which the focus is on seeing each other. The tile view hides the tools, but can also be collapsed by all participants independently of each other. As always, the arrow symbol at the bottom of the participant bar can be clicked for this purpose.
# Select microphone/camera when opening the session
To make it easier for participants to activate their own camera and microphone, this can be actively offered right at the start of the session. If this setting is active (i.e. highlighted in green), session participants are asked directly when the session is loaded whether they would like to transmit audio/video. For this purpose, the dialog Device configuration microphone and camera is shown, in which you can also select and test which microphone or camera is to be used.
# Activation of elements
With the following setting options, elements of the session can be activated or deactivated for the standard session participants, i.e. for participants who are not responsible for the group. This option makes it easier to work with larger groups in particular, but can also be used to limit complexity (e.g. hide sidebar if new tools are only to be added by moderators anyway).
The individual settings are highlighted in green if they are active for the participants, i.e. can be used. A setting that has to be ticked and is not highlighted in color indicates that this function is currently blocked for the participants concerned.
The individual setting options:
Sidebar (add tools)
In sessions, a sidebar can be shown and hidden on the right-hand side, which can be used to add additional tools, among other things. If this sidebar is inactive, the participants concerned can no longer add tools.Tool menu (next to tool heading)
A menu can be shown or hidden next to the tool heading. This menu can be used, for example, to rename or delete the tool. Figure: tool heading
Tool toolbar
By hiding the tool toolbar (here is an illustration of the whiteboard toolbar) you can, for example, prevent the nsertion of additional text fields and objects. Figure: tool bar
Delete in Tools
The delete button and the recycle bin icon normally allow for everyone to delete individual text fields and objects. Both can be be disabled.Microphone can be activated and camera can be activated
The buttons for activating the microphone and camera can be disabled for participants without (co-)group responsibility. If there is already If there is already a connection at this point, the microphone or camera camera will be switched off. This setting can therefore be used to ensure that that only the moderators transmit speech and/or video images.Exit workspace (button)
As a rule, anyone can leave the session using the curved arrow. The arrow can also be hidden so that session participants do not accidentally click on it and leave the session. Of course, hiding the arrow cannot and will not prevent session participants from closing the browser or the active tab.
# Save as default for sessions
Sessions can be customized in many ways via the session settings. If you, as a co-group leader, usually have similar requirements for your sessions, you can also save these settings as the default.
An example: You would normally like to hide the sidebar for your contacts in your session.
To do this, you can switch off Sidebar (Add tools) in a session. Check the other settings to see if they meet your requirements. If everything is correct, press Save as default for sessions. If you now open a session in which no session settings have yet been made, the settings you have just defined will be applied automatically. In this example, the sidebar will be hidden. Newly created sessions are therefore always given the current default settings. However, if session settings have already been changed in a session, these changes are retained.