# Creating a session
Schlagwörter: Session, Raum, Adhoc-Sitzung, Ton, Sound, Bild, Kamera# add_circle Creating a Session
Before you get started, it is important to choose the right setup for your needs. Depending on your goals, you can choose between different Session Types.
Below, we provide a detailed guide for both scenarios:
- trail_length_short Ad-hoc Sessions: Ideal for quick, spontaneous meetings with external guests.
- groups Group Sessions: Best for permanent project teams and structured collaboration.
Expand Table of Contents
# Creating an Ad-hoc session
Ad-hoc meetings enable participation in meetings without guests having to have an account beforehand. However, participation in the session is only possible at the same time. If you would like to work with a time delay, however, we recommend inviting contacts so that participants can be granted permanent access to the session.
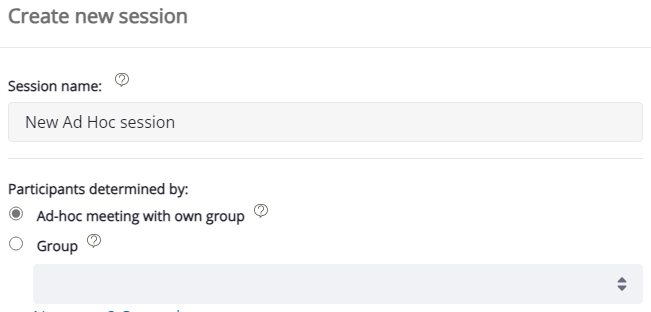
To create an ad-hoc session, first click on the "New session" button under "My sessions". In the window that opens, select the option "Ad-hoc session with own group".
After creating a new session, you are immediately forwarded to the workspace.
# Creating a session with a group
Note: The "Rooms" edition only supports the "Ad-hoc session" session type.
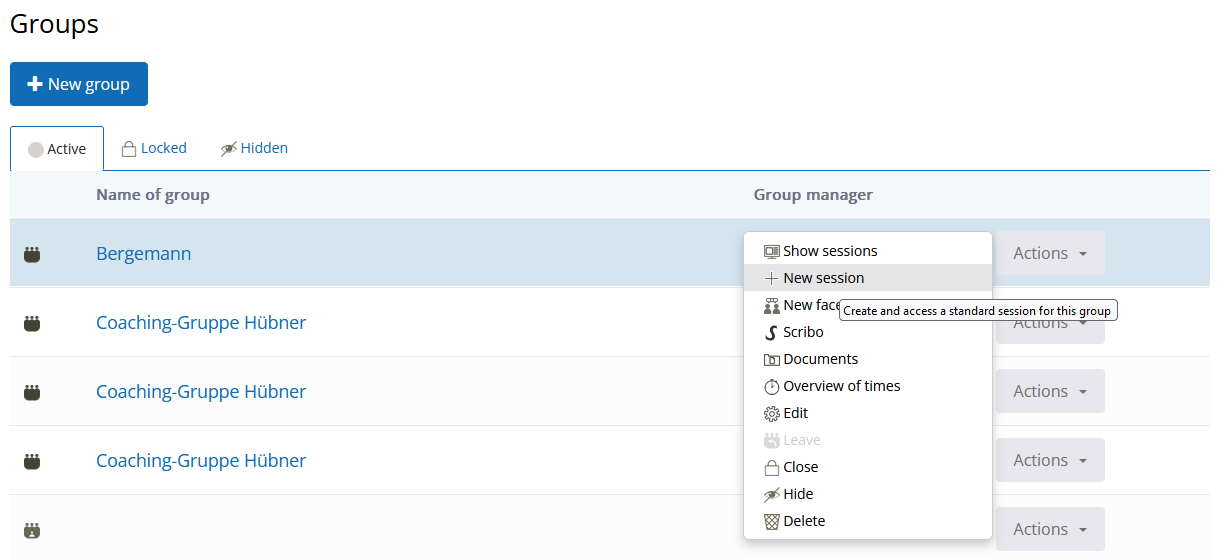
To create a new session whose participants come from a group, click on the "New session" button in the "My groups" list. Only group leaders and their co-group leaders can add new sessions.
Alternatively, you can also add a new session in the "My sessions" menu item and then select "Participants determined by group":

The group is selected for this type of session. A suitable group, including your contacts, must therefore have been defined beforehand.
After creating the new session, you are immediately forwarded to the workspace.
# settings_applications Advanced Settings
The following options are hidden by default. Click on Advanced to reveal them.
Good to know
For regular standard sessions, you can safely ignore this section; the default settings are already optimized for your needs.
# Communication variants of the session
There are several options available for the transmission of audio and video communication.

Automatic: The best communication option is determined automatically.
Direct connection: Transmits audio and video directly to the participants in the group. A variant to avoid an intermediate audio/video communication server - only suitable for smaller groups.
Group communication: Here, communication is controlled centrally via an external server. This can improve the audio and video quality for larger groups in particular and is more resource-efficient.
# Session encryption
Schlagwörter: PasswortWhen creating a new session, the encryption used can be customised in the "Advanced" section.
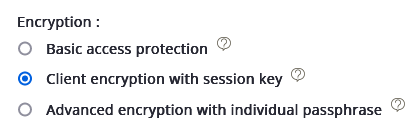
Basic access protection: This is a server-side encryption.
Client encryption with session key: Encryption takes place via the user's browser. This is activated by default with every new creation.
Advanced encryption with individual passphrase: This is an extension of the previous encryption. You define your own password for decrypting the session.
Attention: If you lose your individual passphrase for the session, the contents of the session can no longer be displayed or restored.
# Scheduling sessions
When creating sessions, you can specify the planned date and time of the session under "Advanced".

The start and end dates are displayed at the start of a session. If these dates are entered, they are used in the "Invite" function for sessions.
# Comment of a session
The comment is displayed at the top at the start of the session. It is therefore visible to all participants in the session. The text is used in the session search so that information noted here can also help you find the sessions again.