# The "Desktop Sharing" Tool

With Desktop Sharing, you can broadcast your entire screen or individual application windows in real time. The shared view appears as a tool directly within the session workspace.
Expand Table of Contents
# Typical Use Cases
- Software Training: Live demonstration of programs and workflows.
- Collaborative Editing: One person edits a document locally while all other participants follow the progress live.
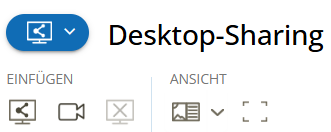
# Adding and Using the Tool
You add the tool via the blue sidebar.
Availability
Since only one Desktop Sharing instance can be active per session, the button will be grayed out once the tool has been added to the workspace.
Once the tool is on the workspace, all participants have the option to share their screen.
Recommendation for Slides
If you only want to show static presentations (PDF, PPTX), we recommend using the Presentation Tool, as it is more resource-efficient.
# Sharing Your Screen
To start the broadcast, click the first button in the tool to share your screen or window.
Next, select what you would like to share in the browser dialog:
- The entire screen
- A specific application window
- A specific browser tab
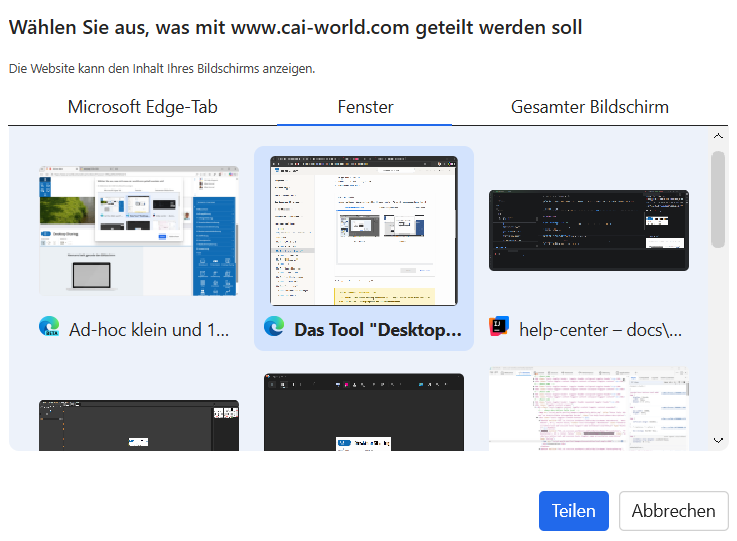
Usage Note
The "Share" button in the browser selection window only becomes active after you have clicked on the desired screen or content—even if only one screen is available for selection.
Note for macOS Users (Non-Safari)
If you are not using Safari, your browser (e.g., Google Chrome) requires additional permissions for Screen Recording when used for the first time on macOS.
- Go to System Settings > Privacy & Security > Screen Recording.
- Enable the toggle for your browser.
- Restart the browser if necessary for the changes to take effect.
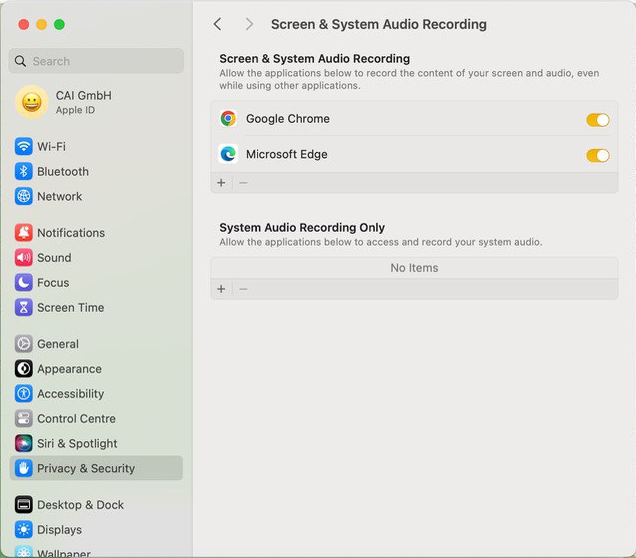 Figure: macOS Privacy Settings for Screen Recording
# Desktop Sharing and Second Camera
The Desktop Sharing tool not only allows you to share your screen but also provides the flexibility to integrate additional video sources into the session.
# Sharing the Camera
By clicking the videocam "Share a second camera with session participants" button, you can select and transmit a specific additional video source.
The image from this camera is displayed to the participants directly within the Desktop Sharing tool. This function is particularly useful for utilizing a second perspective alongside your main camera:
- Main Camera: Continues to show your face in the participant view.
- Second Camera: Can be directed within the Desktop Sharing window toward, for example, a physical work tool, a document, or a physical model that you wish to present live.
# Participant View
Once started, the content is displayed to all participants within the tool window.
# Requirements & Limitations
Technical Requirements
Desktop Sharing requires your system to meet the same requirements as Audio and Video transmissions (WebRTC). Ensure that your firewall allows the corresponding connections.
No Audio via Desktop Sharing
Desktop Sharing transmits video only, not system audio (e.g., the sound of a playing video).
Solution for videos: Use the Media Player tool or send a link to the video directly via chat.
Restricted User Rights
If you are running your browser with a highly restricted user account, the operating system may only allow sharing of the current browser window.