# Using Formats and Tools Effectively
Keywords: Formats, Tools, Process Phases, Sidebar, Session Format, Add ToolA Session Format defines the methodological framework for your collaboration. It bundles specific tools and supports facilitation through structured process phases, question sets, and template texts.
Expand Table of Contents
The format determines which context should be supported in a session. Typical examples include:
- component_exchange Business Coaching
- component_exchange Retrospective
- component_exchange Team Development
- component_exchange Design Thinking
Flexibility
You can select the format when creating a session and change it at any time as the session progresses.
# The Sidebar
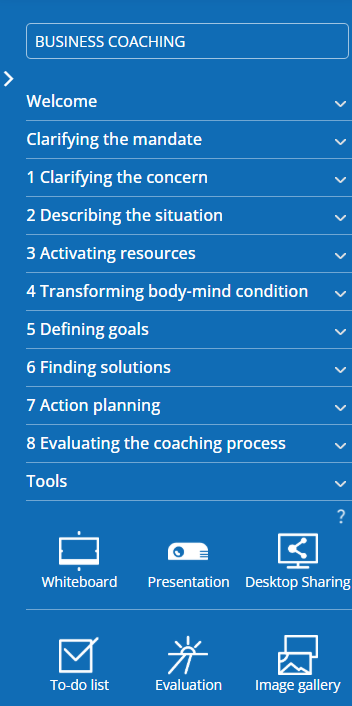
The sidebar displays the current format, along with its associated process phases and tools.
Hide Sidebar for Contacts
In the Session Settings, you have the option to completely hide the sidebar for contacts. This creates more space on the workspace and ensures that facilitators retain full control over adding new tools.
# component_exchange Changing the Session Format
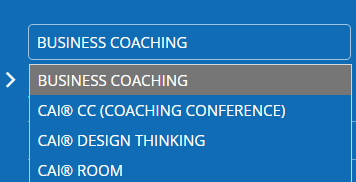
As a facilitator or group administrator, you can adjust the format within the Tools tab of the sidebar.
- Click on the selection field showing the currently active format.
- Select the desired new format from the list.
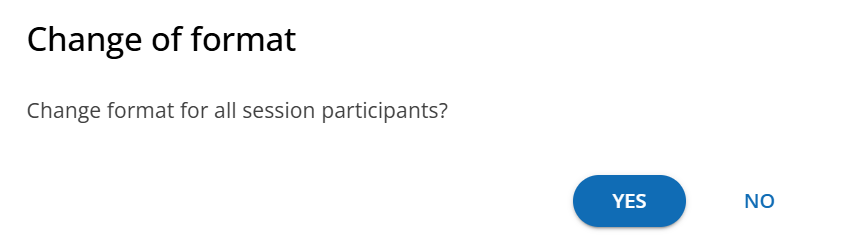
- In the following dialog, decide on the scope of the change:
- Synchronize: The format is changed for all participants and saved within the session. The next time the session is opened, this format will be available immediately.
- Change locally: The format change applies only to your personal view.
# process_chart Structure through Process Phases
The sidebar also provides license holders with the Process Phases of the selected format. These serve as a methodological guide for a structured session delivery.
::: info Visibility Note Contacts and guests do not have access to the phase view. This keeps the user interface simple and focused for participants. :::
# Working with Phases:
- Tool Suggestions: Clicking on a phase automatically displays the tools methodologically recommended for that specific step.
- Background Information: Use the question_mark icon to access a brief description of the respective phase.
- Custom Workflow: Phases are an optional aid. You can customize your workflow at any time and use tools independently of the current phase. The final "Tools" section provides access to all tools within the format for this purpose.
# wallpaper_slideshow Adding Tools
Tools are the functional instruments for your content work on the workspace. The available toolset varies depending on the chosen format and your license package.
# Step 1: Select a Tool
Click a tool icon in the sidebar to add the corresponding tool to the workspace.
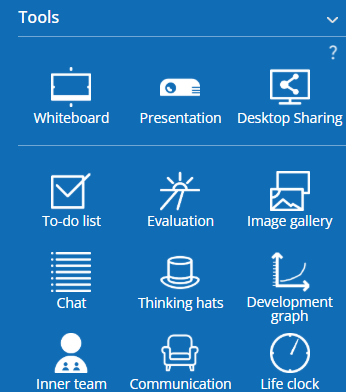
The tool selection is organized for quick access:
- Universal Tools: The first row contains generally applicable tools such as Whiteboard, Presentation, and Desktop Sharing.
- Format-Specific Tools: Below the divider line, all other tools belonging to the selected format are listed in alphabetical order.
# Step 2: Naming
In the next step, assign a meaningful heading to the tool.
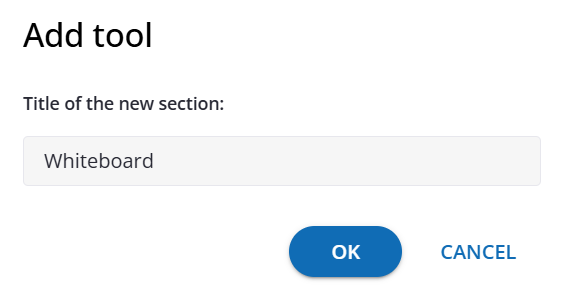
Best Practice
The field is pre-filled with the tool type (e.g., "Whiteboard") by default. Choosing a specific heading (e.g., "Marketing Goals Brainstorming") significantly improves navigation and orientation within the session.